Introduction
This guide provides comprehensive instructions for installing the LFG Node CLI on MacOS. Following these steps will help you get your node operational quickly.
Prior Knowledge
Before installing the software, it’s helpful to be familiar with the node fundamentals, LFG Node Dashboard, and LFG Node System requirements:
- LFG Node CLI FAQs: Review common questions about LFG Nodes CLI.
- LFG Node Dashboard: The dashboard provides an overview of your nodes and allows you to manage them efficiently.
- LFG Node CLI Hardware Requirements: Ensure your system meets the necessary hardware specifications.
-
LFG Node CLI Software Requirements:
- Docker Desktop
Instructions
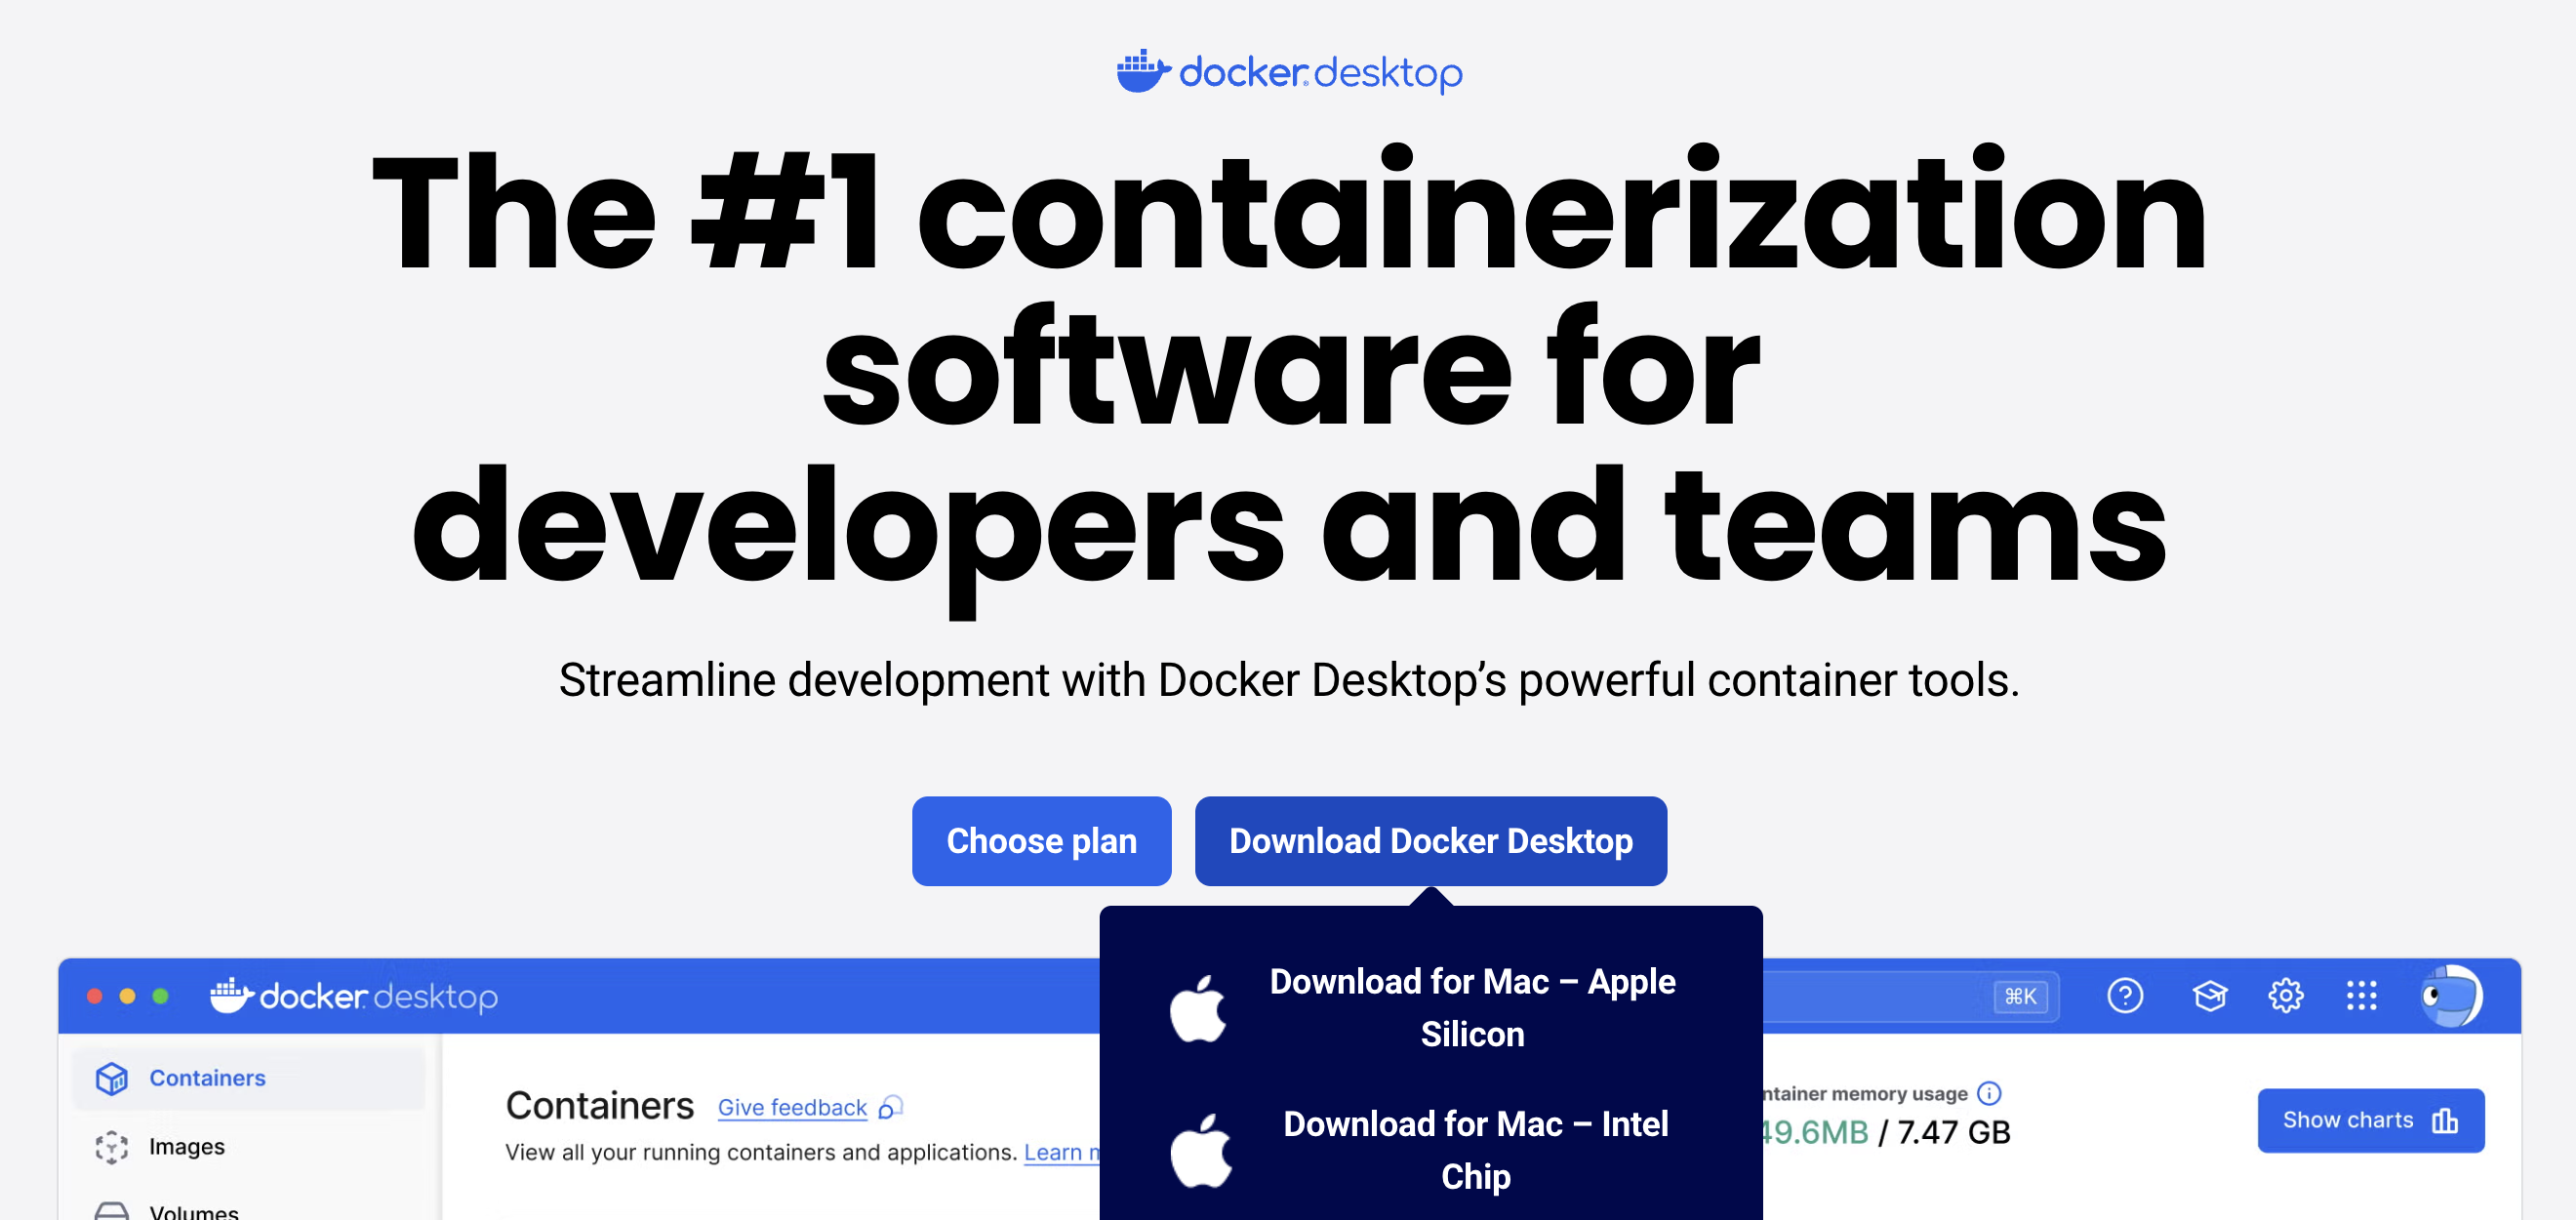
1. Install Docker Desktop
Go to the Docker site and download Docker desktop based on your CPU chip.
- For M1, M2 and onwards, select Download for Mac - Apple Silicon.
- For Intel, select Download for Mac - Intel Chip.
After the download is completed, open the Docker file, and drag and drop it to Applications.
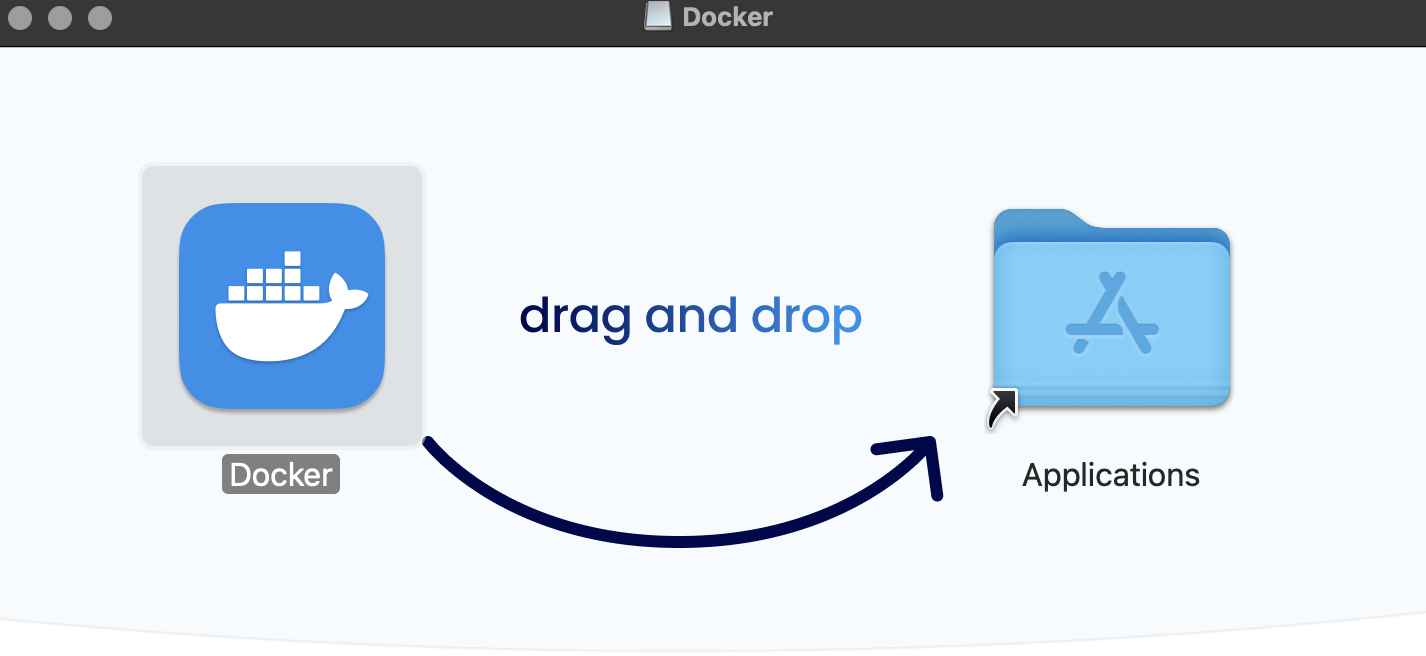
Start Docker and minimize it.
2. Open Terminal and run:
sudo su
Enter your password.
3. Run the following command to download and execute the installation script:
wget -O lfg.sh https://link.lfg.inc/lfgnode-macOS-script && chmod +x lfg.sh && bash lfg.sh
If you're getting an error message that states: "wget: command not found". You will need to install Homebrew and WGET.
- Homebrew: A package manager for MacOS that lets you install and manage software via the terminal.
- wget: A command-line tool used to download files from the internet.
To begin with this process, follow the instructions below:
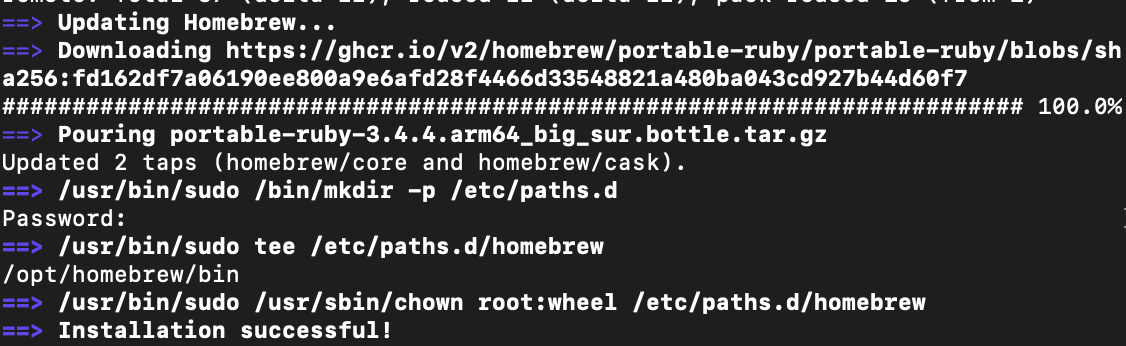
3A. Open a new Terminal instance and run the command below to install Homebrew.
/bin/bash -c "$(curl -fsSL https://raw.githubusercontent.com/Homebrew/install/HEAD/install.sh)"
3B. Add Homebrew to your shell path
For Apple Silicon:
echo 'eval "$(/opt/homebrew/bin/brew shellenv)"' >> ~/.zprofile
eval "$(/opt/homebrew/bin/brew shellenv)"
For Intel:
echo 'eval "$(/usr/local/bin/brew shellenv)"' >> ~/.zprofile
eval "$(/usr/local/bin/brew shellenv)"
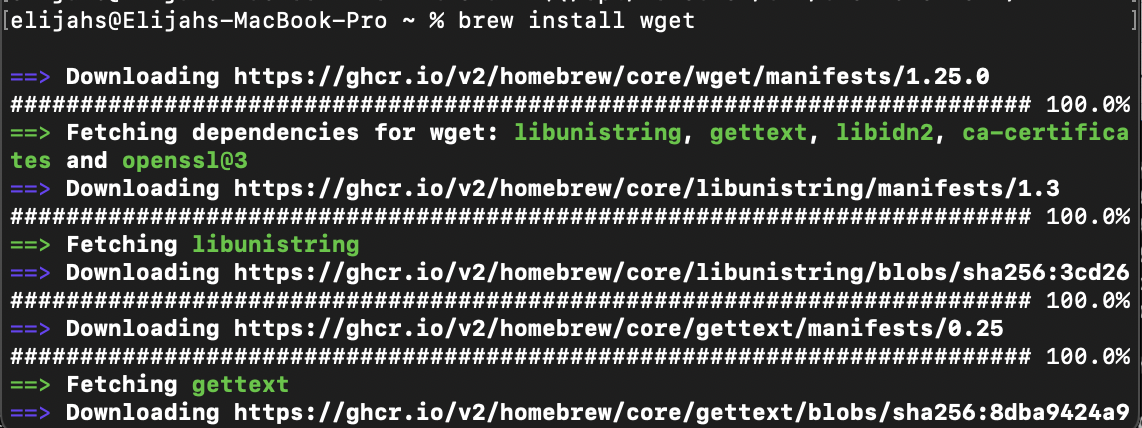
3C. Install WGET using Homebrew
brew install wget
Once these steps are completed, you've successfully installed Homebrew and WGET. Go back to Step 2 to go through the Node installation process.
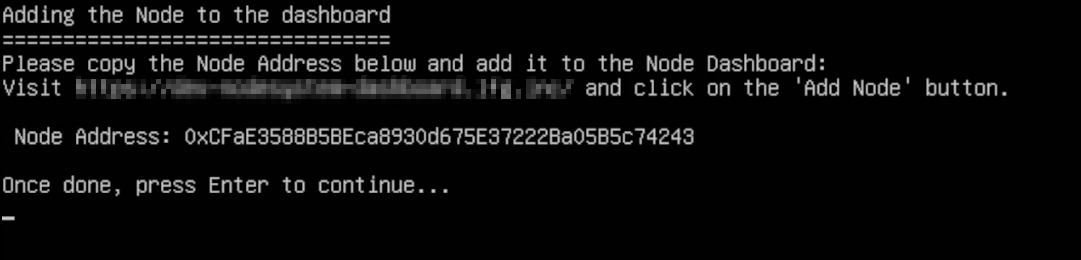
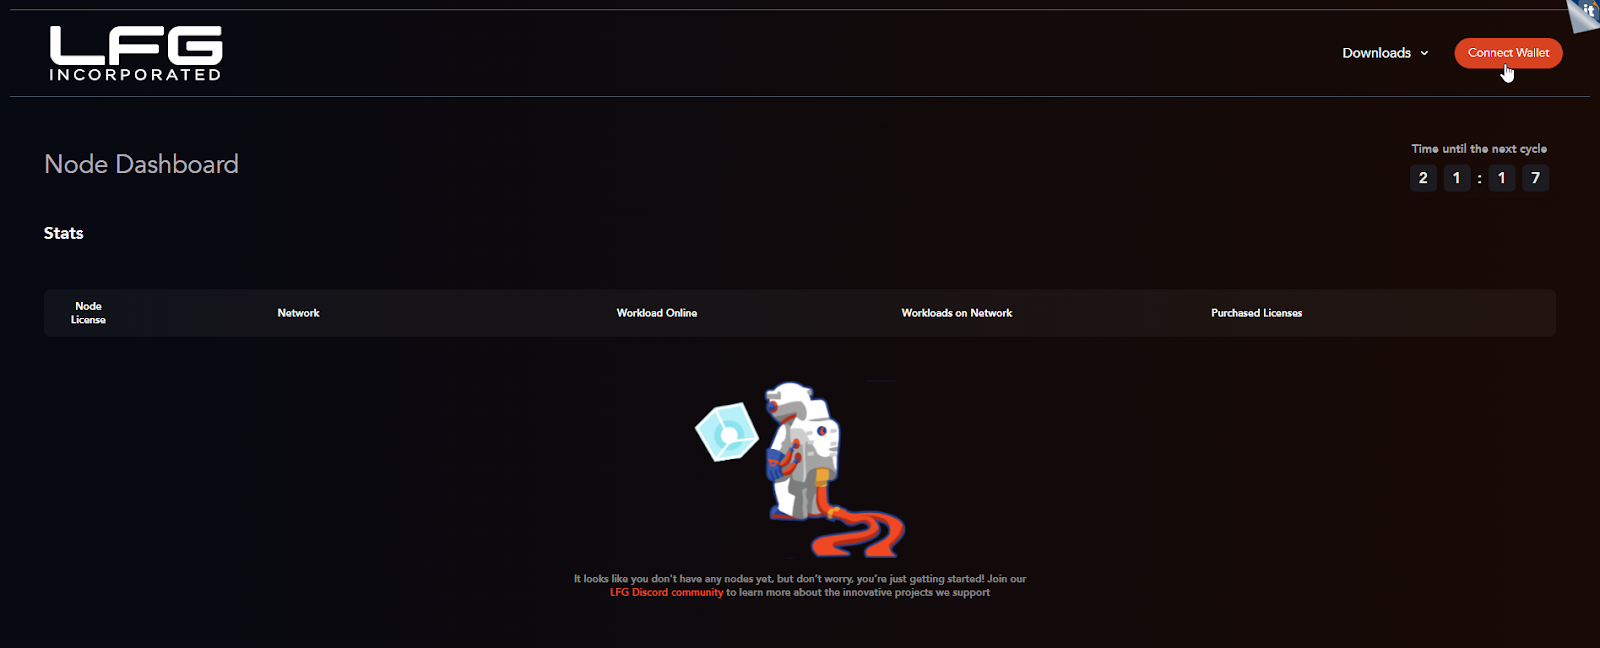
4. Copy the Node Address and visit the LFG Node Dashboard website.
Note: To copy the Node Address, double-click to highlight it and then right-click. Avoid using CTRL + C, as it will interrupt the installation process.
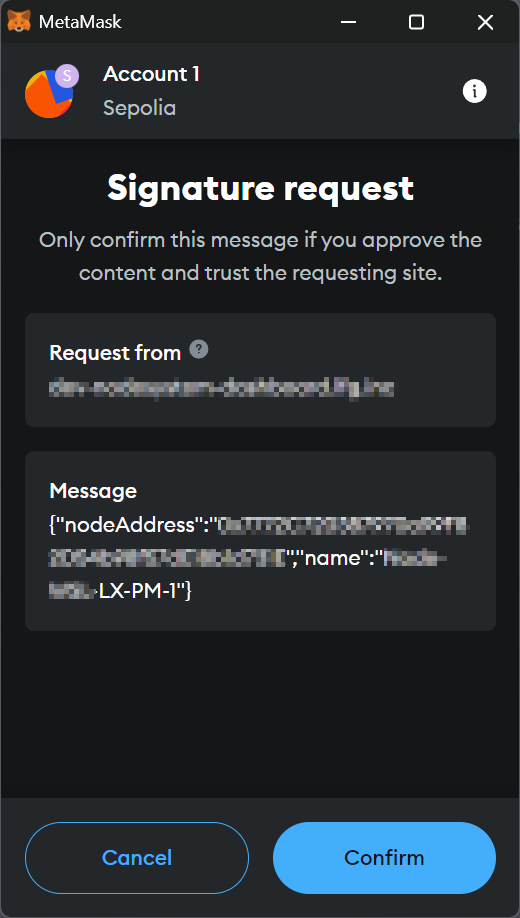
5. Connect your wallet to access the site.
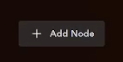
6. Click the Add Node button.
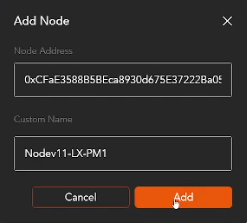
7. Enter your Node Address and assign a name, then press Add.
8. Press Confirm on your Wallet.
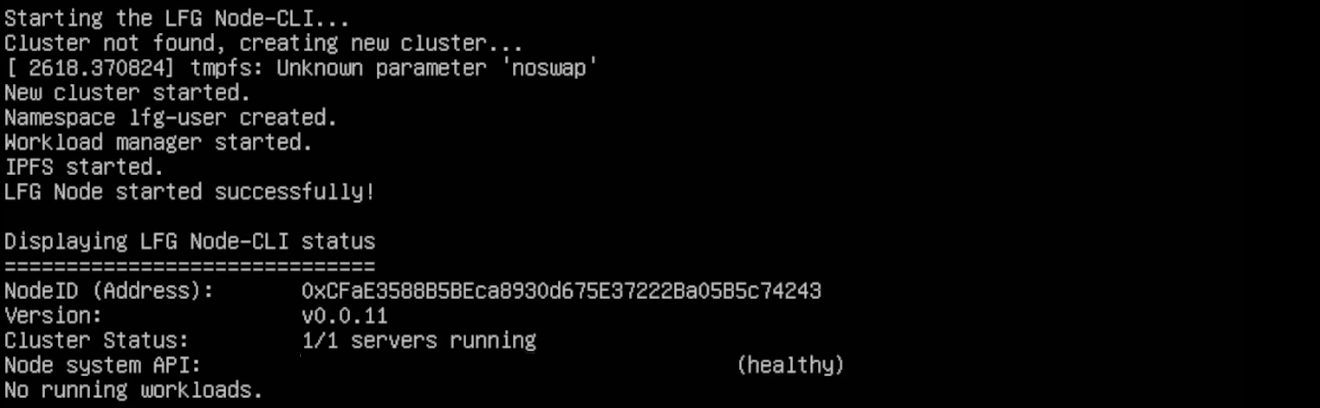
9. Return to the Terminal and press Enter.
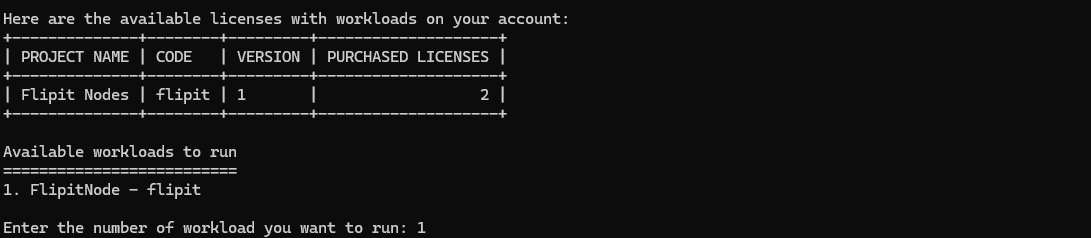
10. Enter the workload number you wish to run:
11. After adding a workload, you’ll be directed to a confirmation screen that indicates the completion of the setup process.
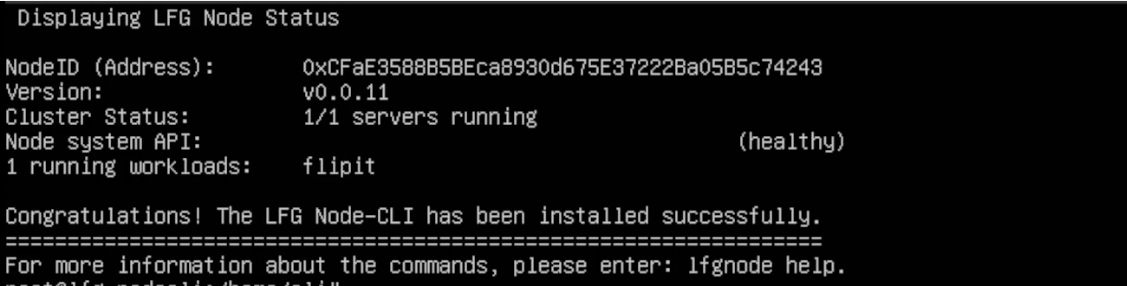
The node setup is now complete. It may take up to 5 minutes for the node to appear operational on the dashboard.

Conclusion
By following these steps, you will have successfully installed and configured the LFG Node CLI on your MacOS. If you encounter any issues during installation or have additional questions, the LFG Discord Community is an excellent resource for troubleshooting and support.
Thanks for the feedback.